The Minimalist Loaf -- revisited
I've had the last three days off, which is rare for me as I never take the day after Thanksgiving off, so I thought this would be a perfect opportunity to revisit The Minimalist Loaf (aka No-Knead Bread). I wasn't prepared to use my Kitchenaid non-stick stock pot again. The handles turned from a gorgeous cobalt blue to a black. :(
I have a cheap cast iron-ish pot. We bought it for something ridiculous like $5, and I had visions of making warming stews in it. Well, almost four years later, that hasn't happened. Recently we have used it as a bowl to put in meat to defrost. Clever! But since I didn't have any real emotional ties with this pot,I didn't mind sacrificing it for my bread project.
Incidentally, while my dough was on its 24 hour rise, I got a comment on the Minimalist Loaf post. The person left a link to their technique making this loaf. Apparently, he/she had perfected their loaf after six attempts! Fantastic! If you haven't made this bread yet, but have, and like me, were so pissed off at how sticky the dough was and how floury your kitchen counters, cabinets, hair, clothes, etc. were, then you need to give this new technique a shot.
The bread is not left between two teatowels. Rather, you put the dough on well-floured parchment paper. Parchment paper, brilliant! I love parchment paper! Thankfully, I had seen the link before turning out my dough.
So, after around 23 to 24 hours of rising, I put flour on top of the dough in the bowl. Using a scraper, I gathered the dough together, and it really came together nicely. I plopped it on the parchment and put flour on top. I folded it on flour sides into a rough circle and turned it upside down. Then, I made a 'tent' with the parchment paper, covering it on all sides, and then put a teatowel on top the paper, so it wouldn't stick to the dough.
When it came time to making my mini-oven, I put foil on the top of the lid for the pot as it was plastic. I left the pot with lid in the oven for 30 minutes to heat up, and then, with my hand under the parchment paper, I plopped the bread into the pot. And then it did its thang.
The result --- beautiful! The pot I used this time was smaller, so the dough rose more. It looked even more like a proper loaf of bakery bread. The bread crackles and pops when you take it out of the oven. That's the crust forming and hardening. Exciting!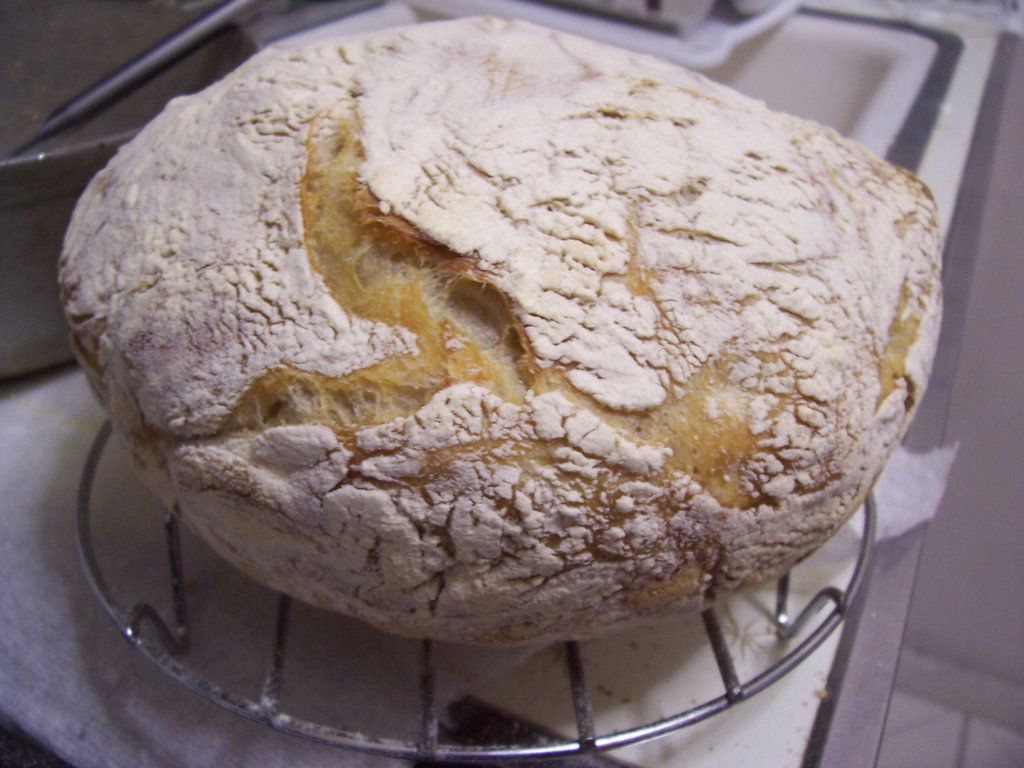 I think I've got my weekend activity! This bread is so fun to make, and the results are so worth it!


1 comment:
Ilana I've just made this today (after years of procrastinating about it) and I love it. Yours looks utterly fabulous.
Post a Comment